Nebular Overlay SDK
The Nebular Overlay SDK is the local toolkit for creating and maintaining your organization's graphics templates for Nebular Overlay Studio.
It provides three parts of the development workflow:
- Starter repositories containing complete example templates that you can customize.
- A local Studio preview that discovers templates from your repository and lets you preview them while interacting with their real-time values.
- A Codex skill that can turn a plain-language graphics brief into a working, validated overlay template inside your repository.
The SDK operates entirely on your local template repository. It does not contain live overlay sessions, saved operator values, credentials, or Overlay Server configuration.
For the template file format, manifest controls, JavaScript update contract, supported assets, and production restrictions, see Authoring Templates.
Requirements
- Node.js 18 or newer.
- Codex only if you want to use natural-language template creation; the CLI and preview work independently.
The examples below use npx, so the SDK does not need to be installed globally, but for performance you may choose to do so by typing:
npm install -g @nebularstreams/overlay-sdk
In this case, the command nebular-overlay-sdk will be installed in your computer and SDK operations will be noticeably faster.
Commands at a glance
| Command | Purpose |
|---|---|
nebular-overlay-sdk init <destination> <pack> |
Create a template repository from a starter pack. |
nebular-overlay-sdk preview [directory] |
Open the local catalogue, parameter editor, and template preview. |
nebular-overlay-sdk skill install |
Install the Nebular overlay skill for Codex. |
If the SDK has not been installed, prefix each command with npx @nebularstreams/overlay-sdk, as shown below.
Quick start
1. Create your template repository
Initialize a new directory from one of the included starter packs:
npx @nebularstreams/overlay-sdk init my-overlay-templates basic
The destination must not already exist. The command creates my-overlay-templates and copies the selected pack into it.
Available packs:
| Pack | Contents |
|---|---|
all |
The complete example catalogue. |
basic |
A practical selection of broadcast, engagement, and scoreboard templates. |
empty |
One minimal template—the cleanest starting point for an original design. |
games |
The gambling, game, and interactive quiz templates. |
The created directory is your organization's template repository. It is independent of the SDK package and is the directory you should place under version control.
2. Start the local preview
Enter the repository and run:
cd my-overlay-templates
npx @nebularstreams/overlay-sdk preview
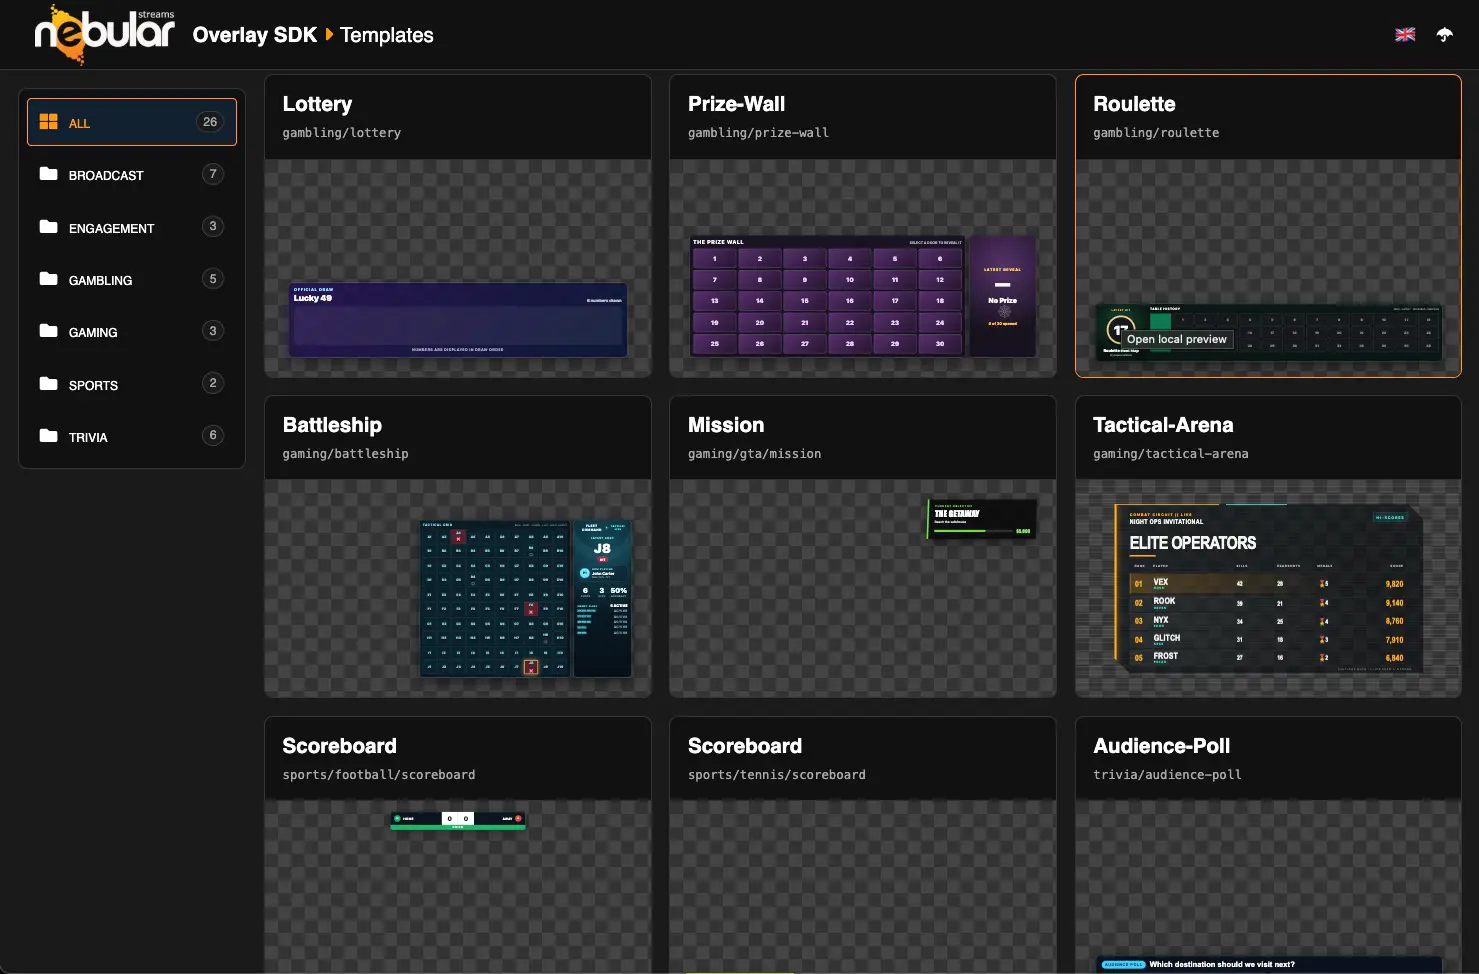
The SDK opens a local template catalogue. Select a template to edit its manifest parameters and inspect the result immediately in the preview.
Templates are discovered directly from the filesystem. Just refresh the browser after adding, removing, or renaming template directories.
3. Customize or create templates
Edit one of the examples, create a template manually, or use the included Codex skill. A template consists primarily of an index.html presentation and a manifest.json parameter definition.
See Authoring Templates for the complete format and development rules.
4. Commit your work
The initialized directory is ready to become your organization's source-controlled template repository:
git init
git add .
git commit -m "Initialize overlay templates"
Commit only template presentation code, manifests, and supported local assets. Overlay sessions, persisted parameter values, credentials, and server configuration do not belong in this repository.
Creating templates with Codex
The SDK includes a Codex skill specialized in Nebular overlays. It understands the repository structure, manifest controls, incremental update contract, performance limits, security restrictions, and broadcast-oriented design conventions.
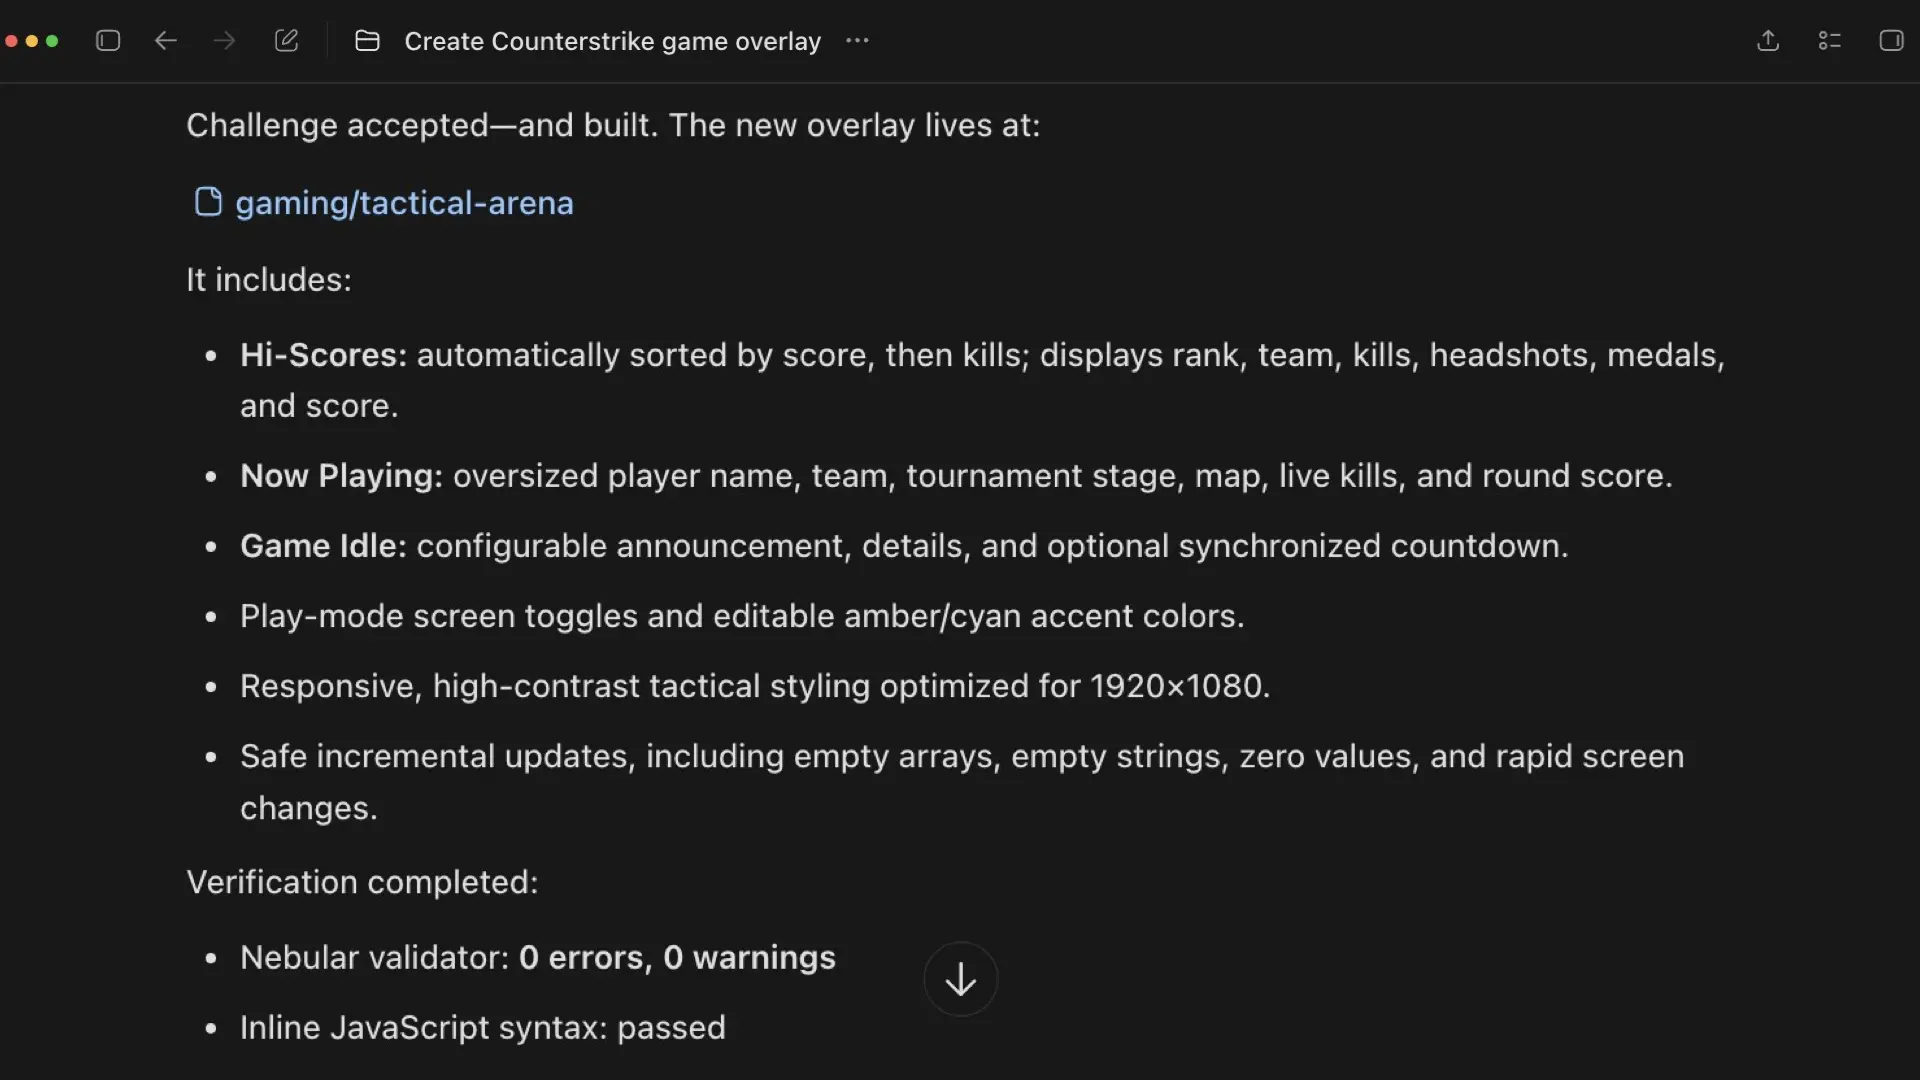
The skill can inspect the examples already in your repository, create or modify templates, run the packaged validator, and report any asset that you still need to provide.
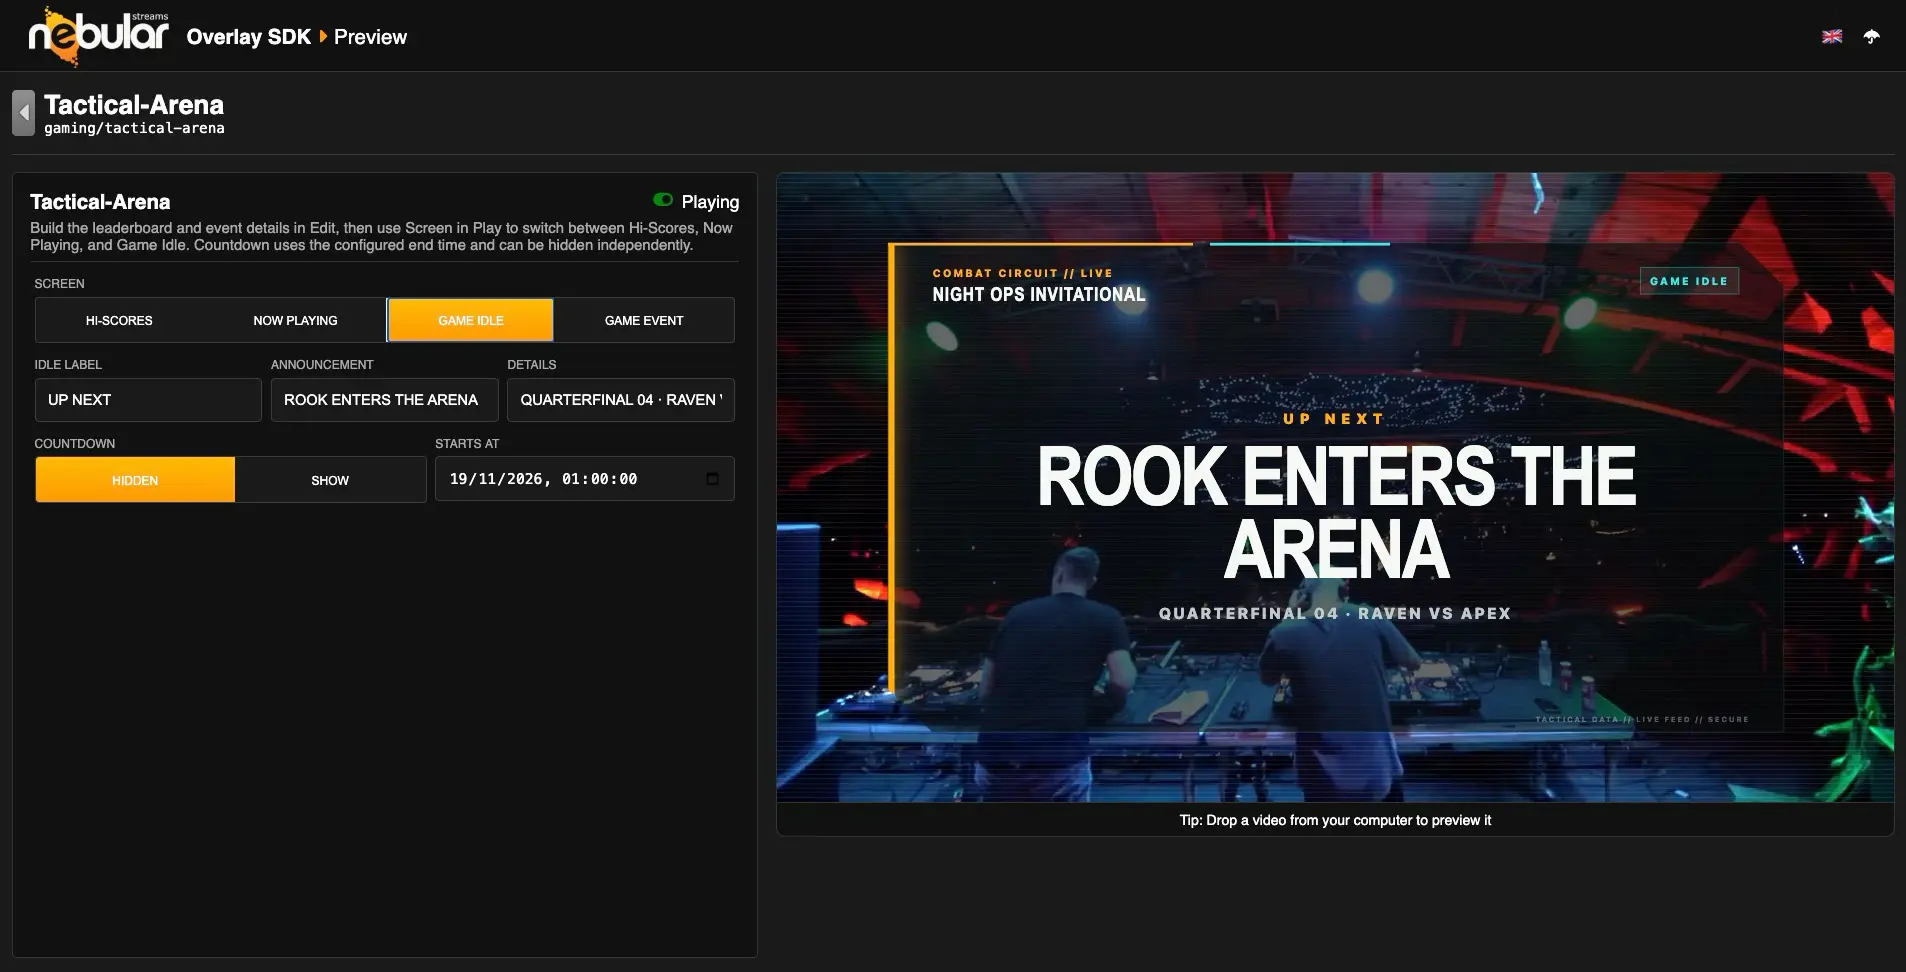
1. Install the skill once
Run this command from any directory:
npx @nebularstreams/overlay-sdk skill install
Restart or refresh Codex after installation. The skill is installed in your Codex skills directory and remains available for future template repositories.
When a newer SDK release contains an updated skill, replace the installed copy with:
npx @nebularstreams/overlay-sdk skill install --force
2. Create a repository
If you have not already initialized one, create a repository from the pack closest to your project:
npx @nebularstreams/overlay-sdk init my-overlay-templates basic
The examples give Codex useful visual and implementation references. Use empty when you deliberately want the smallest possible starting point.
3. Add the repository folder to Codex
Open Codex and add the newly created my-overlay-templates folder as your project or workspace. Codex should work from the repository root so it can inspect related templates, place the new template in the correct category, and run validation across the result.
4. Describe the overlay
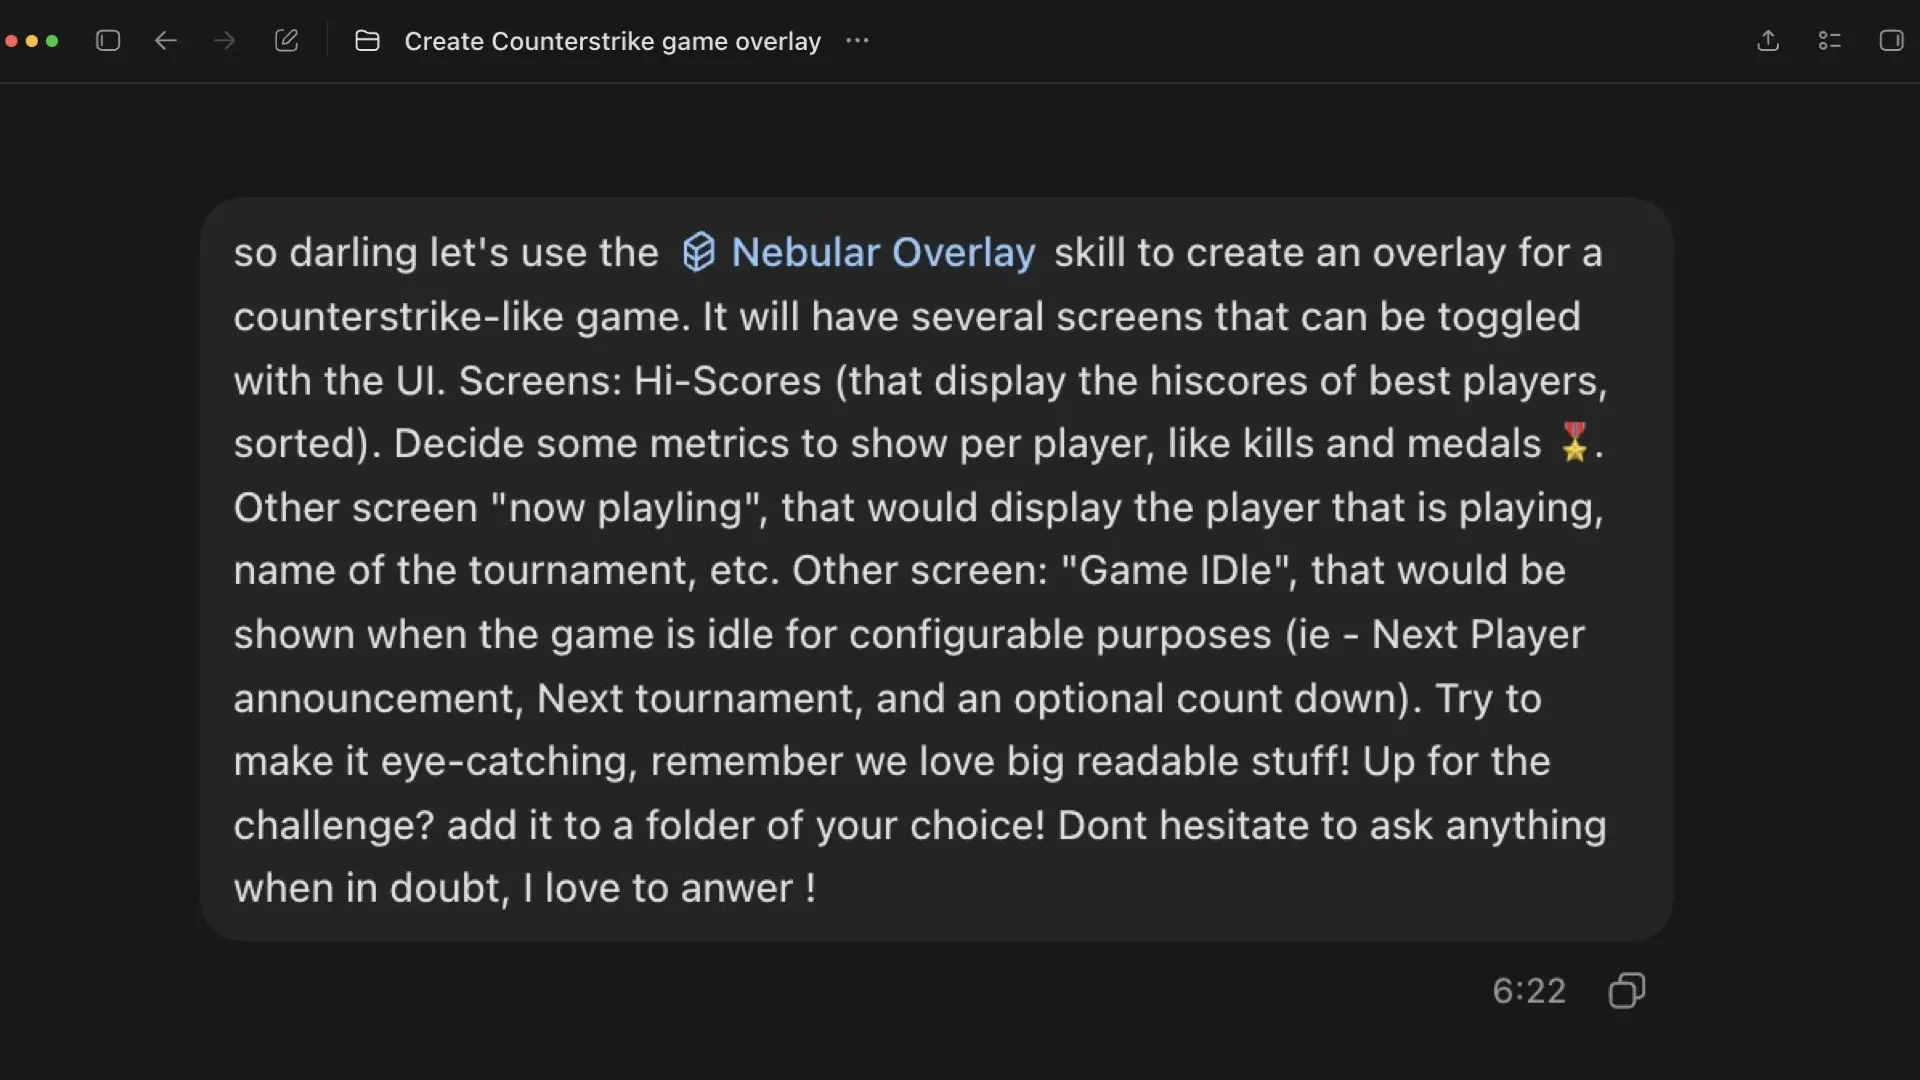
Invoke the skill by naming $nebular-overlay in your prompt. Describe the information to display, its position and behavior, the values an operator should control, and any visual direction or supplied assets.
For example:
$nebular-overlay Create a broadcast lower-third for guest interviews. Show the guest name, role, and organization. Use large readable type, a dark translucent panel, and an orange accent. Put branding controls in Edit mode and a Show/Hide action in Play mode. Reuse the visual language of the existing broadcast templates and validate the result.
You can also ask Codex to modify an existing template:
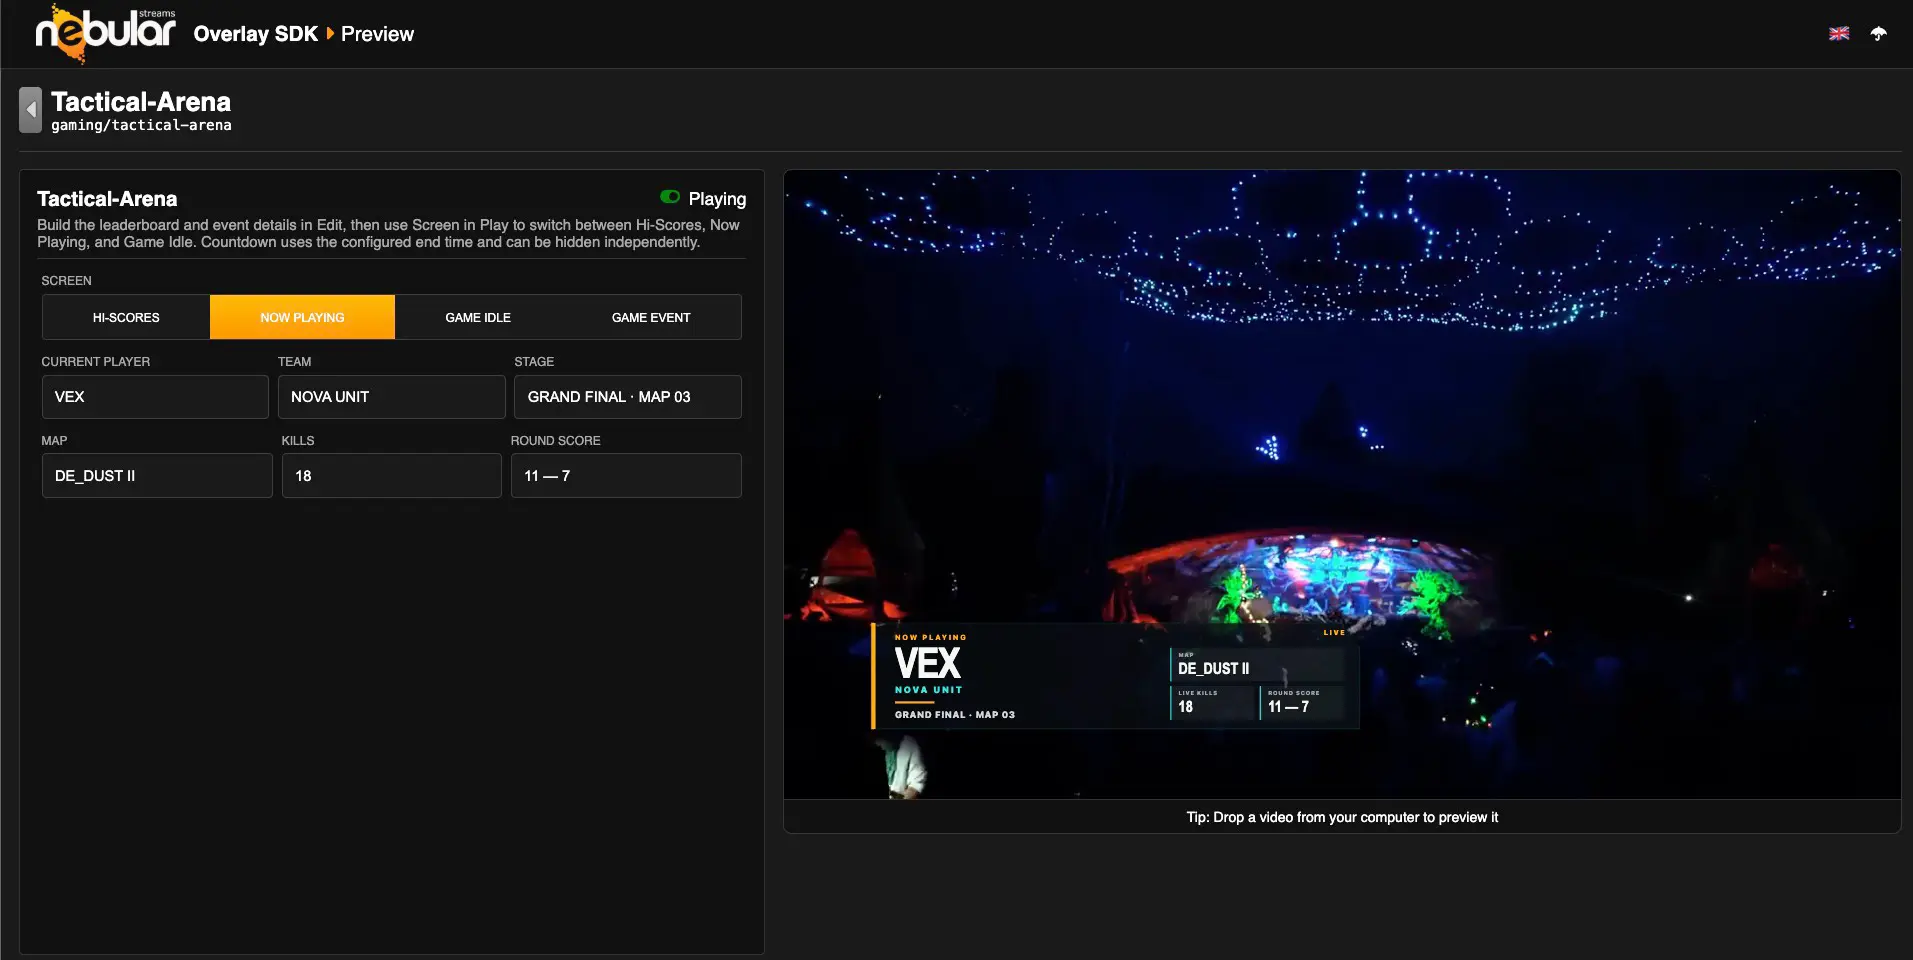
$nebular-overlay Update gaming/tactical-arena, lets add another panel, this one for a random "event", it'd be an unobtrusive frame centered at the bottom and potentially taking up to 80% of the width (also with a bottom margin). It would display a random game event like "John was bitten by the evil spider!" (can be multi-line) also would have a title like "counterstrike radio".
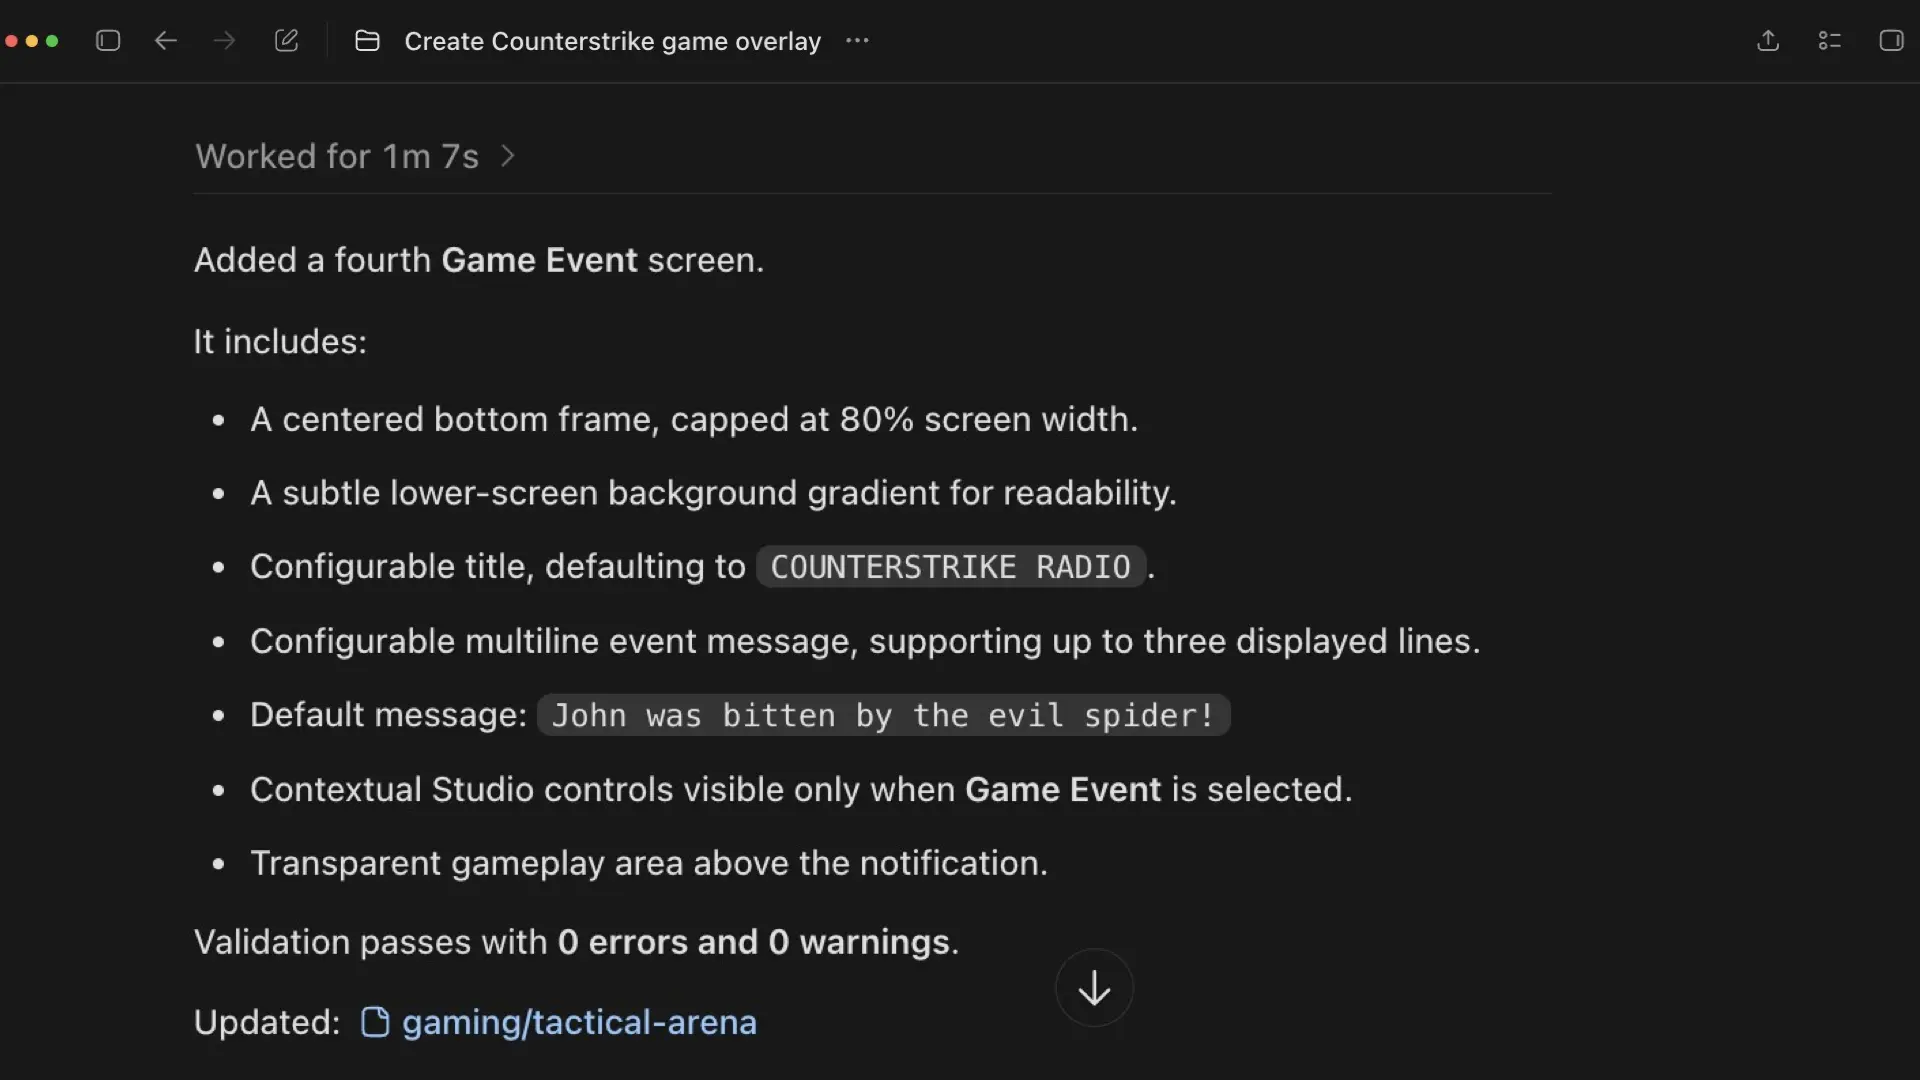
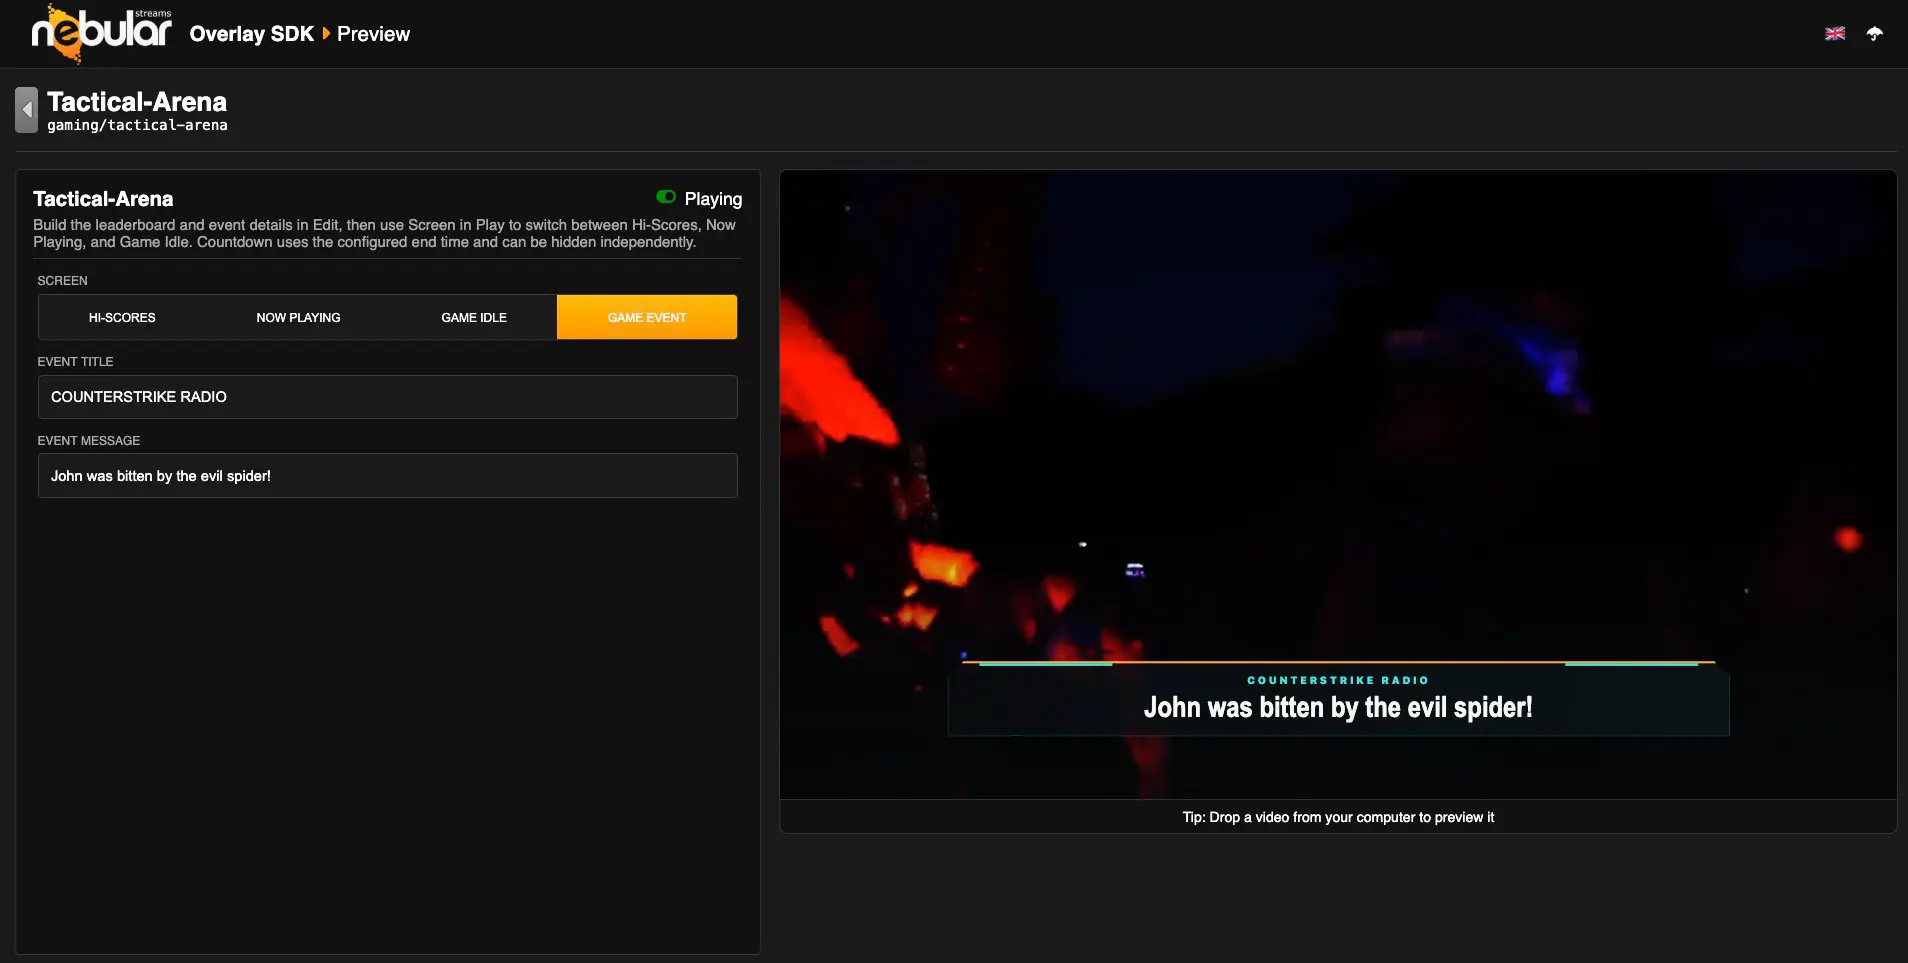
Codex will normally choose sensible implementation details from the brief. Mention exact copy, colors, timing, template path, or asset filenames when they matter to the result.
5. Review in the preview
Start the preview from the same repository:
npx @nebularstreams/overlay-sdk preview
Review the initial state, Edit and Playing controls, empty values, content extremes, transitions, and any supplied assets. The skill accelerates creation, but the template owner remains responsible for visual approval before synchronization to production.
Preview command
The preview can serve the current directory or an explicitly selected repository:
npx @nebularstreams/overlay-sdk preview
npx @nebularstreams/overlay-sdk preview ./my-overlay-templates
By default, the Studio-style application listens on 127.0.0.1:4173 and the isolated template server uses the following port, 4174. Both are loopback-only development servers.
Choose a different application port or prevent the browser from opening automatically when needed:
npx @nebularstreams/overlay-sdk preview --port 4300
npx @nebularstreams/overlay-sdk preview --no-open
The template server always uses the port immediately following the selected application port. Press Ctrl-C to stop both servers.
The two-origin arrangement reproduces the important isolation boundary used by the hosted Studio preview. It also applies the supported-asset rules, Content Security Policy, Permissions Policy, and update bridge expected by overlay templates.
Repository ownership and deployment
All templates belonging to your organization live in the repository created with init.
- Your organization or design agency can create, preview, and maintain templates independently from the Overlay Server.
- The Overlay Server operator synchronizes an approved repository version to the production workers.
- Where enabled by the platform operator, your organization may also request synchronization through the API.
The local preview is a development environment, not a production deployment. Commit and push the tested version before requesting synchronization, then perform the final verification in Nebular Overlay Studio and on the target Overlay Server.
Next steps
- Read Authoring Templates before implementing templates manually or reviewing generated code.
- Start the local catalogue with
npx @nebularstreams/overlay-sdk preview. - Install the Codex skill with
npx @nebularstreams/overlay-sdk skill installto create templates from natural-language briefs.